Note: this page has been drafted & edited with Gemini Pro 3.0 and it is still a WIP. Final images and human proofreading still needed.
OpenType features are the secret sauce of modern typography. They are the invisible rules that tell a font to automatically swap an ugly, clashing ‘f’ and ‘i’ into a beautiful ‘fi’ ligature, or to turn standard numbers into elegant oldstyle figures that blend perfectly into body text.
For visual designers, diving into OpenType can feel like hitting a brick wall of code. But here is the good news: you don’t have to be a programmer to make a smart font.
Automating OpenType features in FontLab is one of the most powerful workflows you can master. Instead of writing hundreds of lines of Adobe FEA code, you can leverage FontLab’s auto-generation engine to do the heavy lifting.
Here is your straightforward, designer-friendly guide to making OpenType work for you.
The Golden Rule: Standardized Glyph Naming
The entire FontLab automation system relies on one simple concept: Standardized Glyph Naming. If you name your glyphs exactly what FontLab expects, it will write the code for you.
FontLab uses standard suffixes (separated by a period .) and underscores (_) to understand your intentions.
- For Ligatures: Use an underscore. Name your combined f-and-i glyph
f_i. - For Small Caps: Add
.smcp. Name your small cap ‘a’a.smcp. - For Alternate Styles: Add
.ss01or.alt. Name your funky alternate ‘g’g.ss01.
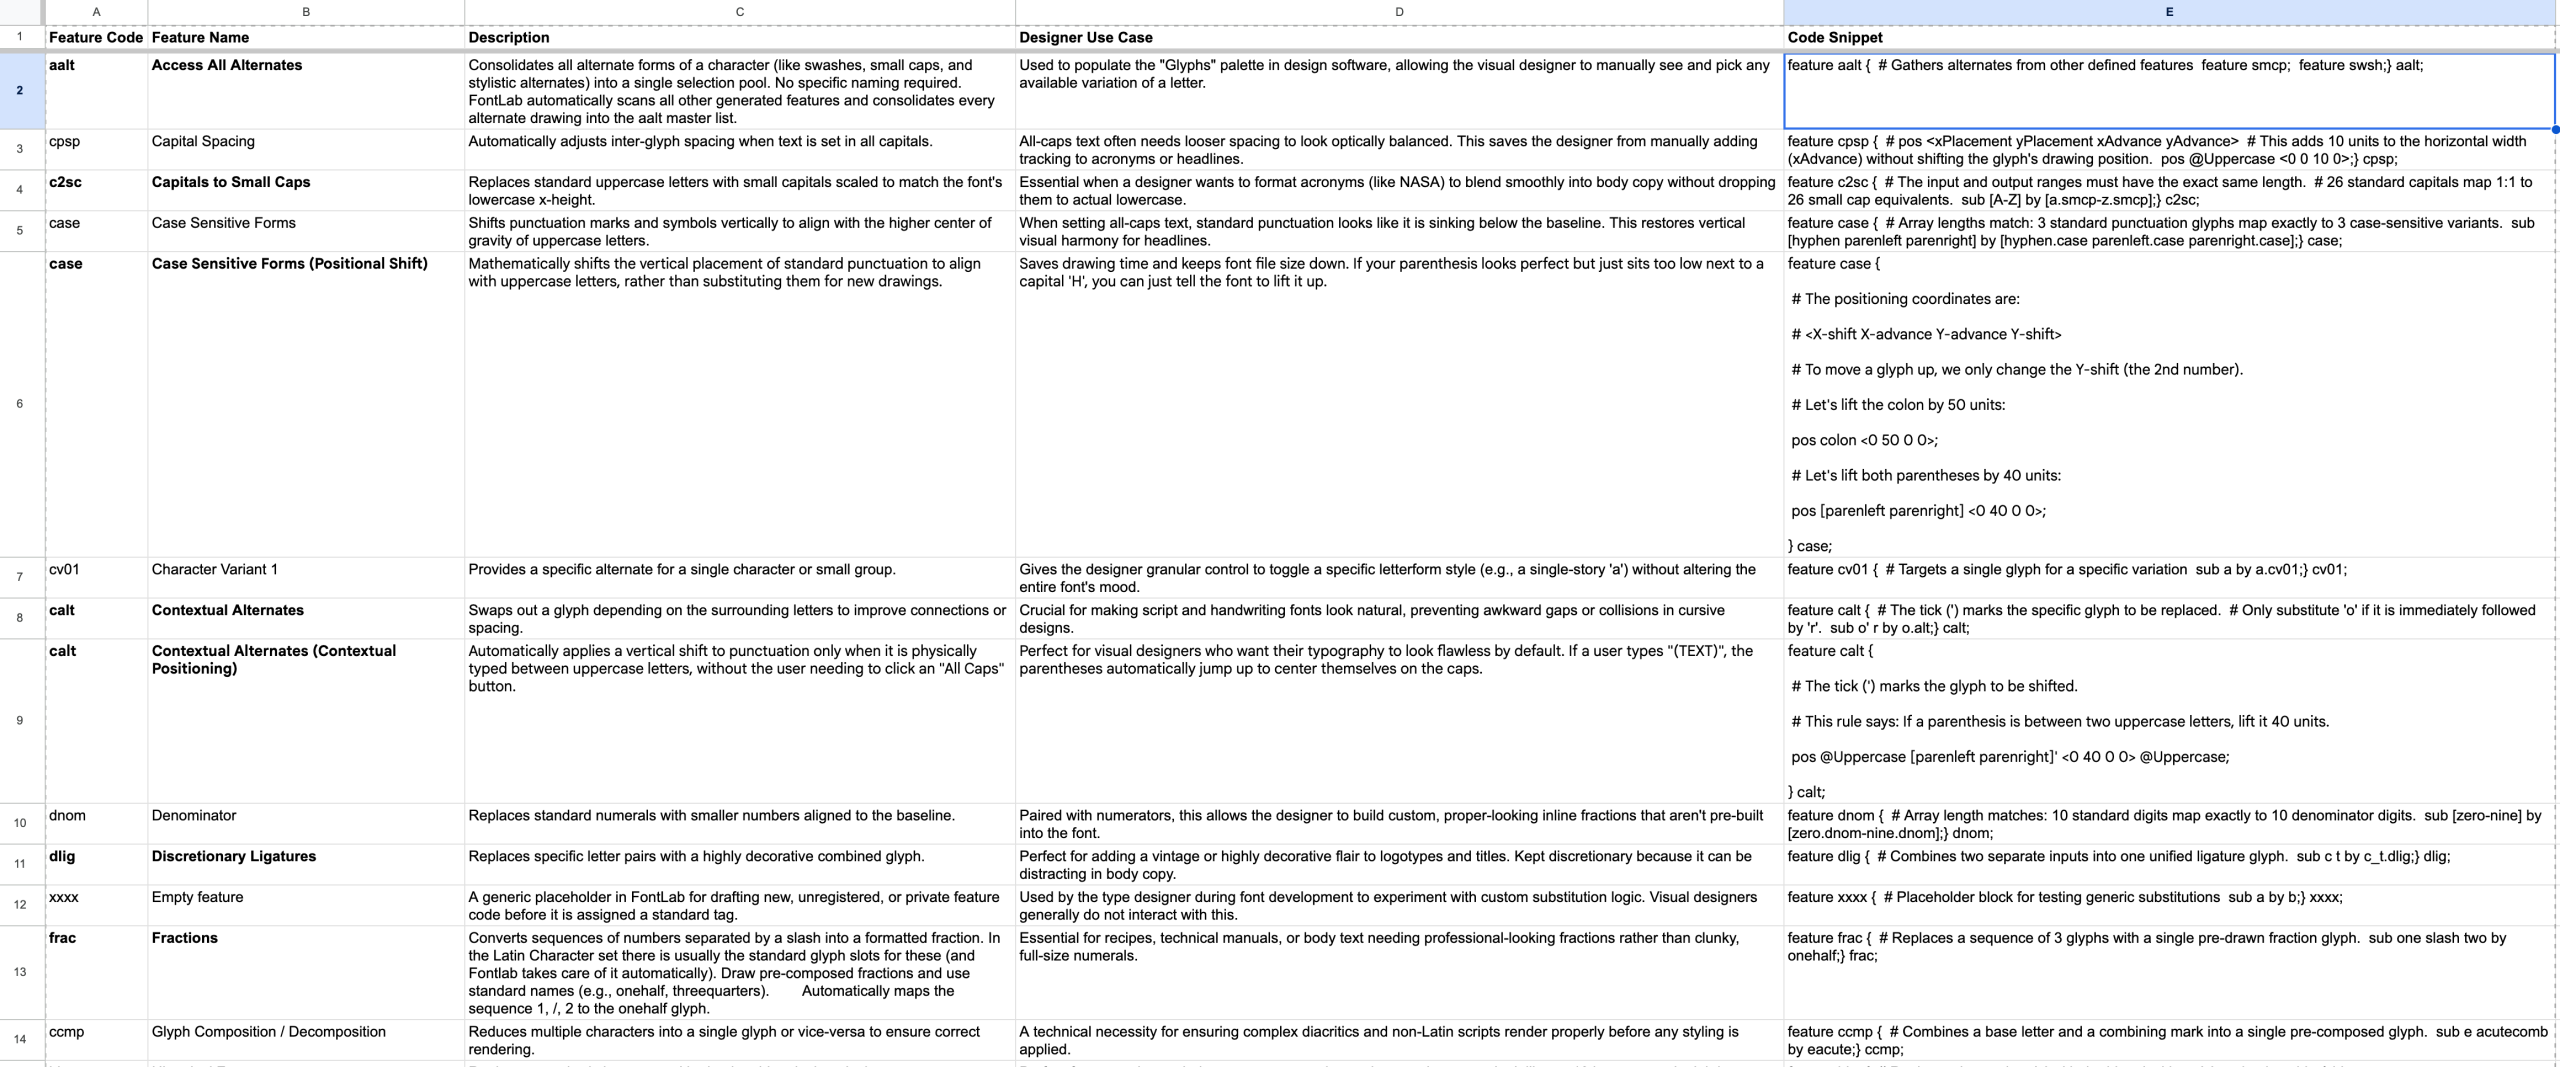
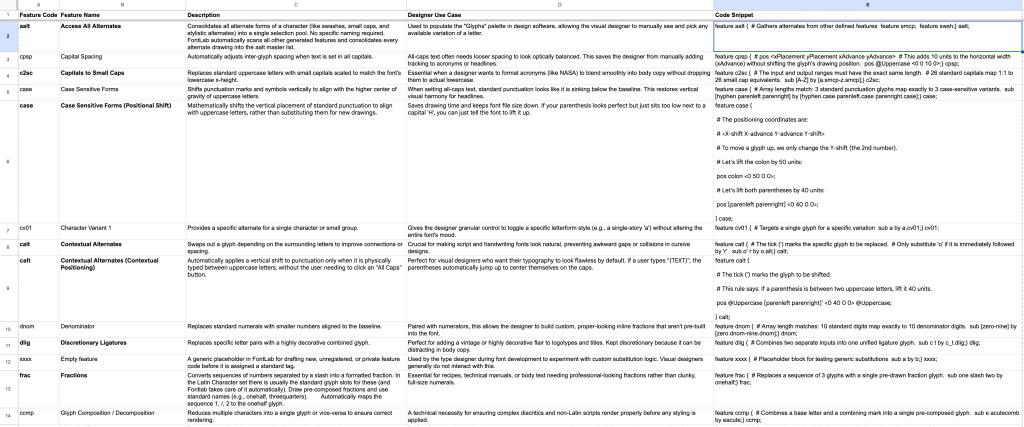
Access this table for a comprehensive list and examples of the most common opentype features
When you use these naming conventions, FontLab acts as your personal developer, silently writing the substitution rules in the background.
[Image Placeholder: Screenshot of the FontLab Font Window (Grid View). The caption should read: “A well-organized glyphset. Notice the clear naming conventions: f_i for the ligature, a.smcp for the small cap, and hyphen.case for the case-sensitive punctuation.”]
Essential Auto-Generated Features
While there are dozens of OpenType features, here are the most common ones you can fully automate just by naming your glyphs correctly:
liga(Standard Ligatures): Resolves common letter collisions. Name glyphsf_i,f_f_l, etc. FontLab automatically writes the code to replace the typed sequence with your drawn ligature.smcp(Small Caps): Replaces lowercase letters with scaled-down capitals. Name your glyphsa.smcpthroughz.smcp.frac(Fractions): Converts “1/2” into a proper “½”. Draw pre-composed fractions and name themonehalf,onequarter, etc.onum(Oldstyle Figures): Numbers with varying heights that blend into lowercase text. Name themone.onum,two.onum, etc.ordn(Ordinals): Formats letters following numbers (like the ‘st’ in 1st). Name your miniature lettersa.ordn,o.ordn.locl(Localized Forms): Region-specific variations. Name a Polish acute CCacute.plk, and FontLab sets up the language scripts automatically!aalt(Access All Alternates): You don’t even have to name anything special for this one. FontLab scans all your other features and bundles every single alternate drawing into this master list, which populates the “Glyphs” palette in Adobe Illustrator or InDesign.
[Image Placeholder: A split-screen text preview. Left side shows unstyled text with an awkward ‘fi’ gap and clunky standard numbers. Right side shows the OpenType magic: a smooth ‘fi’ ligature and elegant oldstyle figures. Caption: “The power of liga and onum in action.”]
The FontLab Workflow: Build and Compile
Once your glyphs are drawn and properly named, you need to tell FontLab to write the code and convert it into binary (the actual language the computer reads).
Step 1: The Magic Wand (Generate the Code)
Open the Features Panel (Window > Panels > Features). Click the Magic Wand / Auto icon at the top of the panel (or use the Hamburger menu to select “Update Features”). FontLab will scan your glyph set, generate the necessary letter classes, and populate the sidebar with all the feature tags it found (like liga, smcp, kern).
Step 2: The Play Button (Compile)
Generating the text code isn’t enough; you must compile it. Click the Compile button (the Play ▶ icon at the top of the Features panel). FontLab checks for syntax errors and translates it into binary data. You can now test your font in the preview window!
[Image Placeholder: Close-up of the FontLab Features Panel. Highlight the ‘Magic Wand’ (Auto) icon, the left sidebar populated with 4-letter feature tags, and the ‘Play’ (Compile) button. Caption: “The Features panel is your control center. Update your code with the magic wand, and compile it with the play button.”]
Manual Coding: Proceed with Caution!
Sometimes, you need to go beyond auto-generation. For example, if you want to use the case (Case Sensitive Forms) feature to mathematically shift standard parentheses up 40 units when typing in All-Caps, you have to write that GPOS (positioning) code manually.
If you need to write manual code, follow these Best Practices so you don’t break your font:
1. Uncheck the “Auto” Property
FontLab’s default state is to constantly overwrite the feature code to match your glyph set. If you manually type beautiful custom code and accidentally click “Update Features,” FontLab will erase it! To prevent this, select your feature in the sidebar, find the Auto toggle (the magic wand/star icon), and turn it off. This locks the feature and protects your code.
[Image Placeholder: Features panel sidebar showing the ‘Auto’ toggle turned off (greyed out or unchecked) for a specific custom feature like ‘calt’ or ‘case’. Caption: “Always turn off the Auto toggle on a feature if you are writing manual code, otherwise FontLab will overwrite your hard work on the next update!”]
2. Beware of Auto-Classes
FontLab dynamically generates groups of letters (Classes) like @Uppercase. If you use these in your manual code, and later rename a glyph, your code might break. Best Practice: If you need a specific group of letters for custom code, create your own custom class in the Classes panel (e.g., @My_Custom_Swashes).
3. Respect the Syntax
When typing manually, you are using strict Adobe FEA code.
- Every single rule line must end with a semicolon (
;). - Everything must be wrapped in brackets (
{ }). - If the compiler refuses to build, check the Output Panel. It will tell you the exact line number where you made a typo (e.g.,
Error on line 42: invalid glyph name).
Final Thoughts
OpenType doesn’t have to be intimidating. By keeping your glyph names tidy and letting FontLab handle the repetitive coding, you can spend less time acting like a software developer, and more time doing what you do best: drawing beautiful type.
Aknowledgement of Sources & Transparency: The technical specifications and workflow guidelines in this tutorial were synthesized from the official documentation of Microsoft Typography, FontLab, and MDN Web Docs. The text, explanations, and formatting were HEAVILY drafted, edited, and simplified for visual designers with the assistance of Google’s Gemini 3.1 Pro AI.